7 Things I Teach on Day One of My Photography Adventures


After guiding hundreds of photo adventures (and thousands of photographers) around the world, I’ve learned that every traveler, every photographer, and every trip is a little different. Some guests arrive with decades of experience. Others are just getting comfortable with their camera. Some are landscape lovers, some are wildlife fanatics, and some just want to come home with photos that feel a little more like what they actually experienced out there.
But no matter the group, destination, or skill level, there are a handful of things I teach at the very beginning of almost every trip.
Think of this article (and corresponding podcast episode) as the welcome-dinner crash course. Before we’re photographing bears in Alaska, gorillas in Uganda, monarch butterflies in Mexico, or sweeping Arctic landscapes, these are the core ideas I want everyone thinking about. They’re simple, but collectively, they can make a massive difference.
And the best part? You don’t need a new camera, a new lens, or tons of prior experience...this is designed for the beginner all the way to the seasoned pro. You just need to start using the tools already in your hands a little more intentionally.

1. Get Off Full Auto
No shame whatsoever if you’ve been shooting on full auto. Modern cameras and their auto settings are shockingly good. But when you’re photographing wildlife, landscapes, and constantly changing natural light, full auto eventually becomes limiting factor, particularly with creative control over your camera.
At the very least, move to Program mode. This gives you access to important controls like exposure compensation, autofocus settings, and white balance. Better yet, try aperture priority, which lets you choose your depth of field.
But my favorite setup, and the one I use constantly, is manual mode plus auto ISO.
This gives you control over your aperture and shutter speed—the two settings that most directly shape the look and feel of your image—while letting the camera handle ISO. If I want a fast shutter speed for a running cheetah, I choose it. If I want a deep depth of field for a landscape, I choose that too. Then auto ISO does the background math.
It’s a brilliant balance of control and speed, which is exactly what nature photography demands.

2. Master Exposure Compensation
Exposure compensation might be the single biggest game changer for nature and wildlife photography.
It allows you to quickly make your photo brighter or darker without fully reworking your settings. If you’re photographing a polar bear on snow, your camera may try to darken the scene too much. In that case, you might need to dial exposure compensation to the plus side.
If you’re photographing a mountain gorilla surrounded by deep shadows and dark fur, your camera may try to brighten things too much, so you may need to underexpose slightly.
There is no universal 'perfect' setting here. I might change exposure compensation dozens of times a day in the field. The key is being able to change it quickly, ideally without digging through menus or taking your eye too far from the scene.
Find the little plus/minus button on your camera, practice with it, and make it part of your muscle memory. Future you, standing in front of once-in-a-lifetime wildlife, will be very grateful.
3. Use Center Point Autofocus
Many cameras, especially right out of the box, want to choose the focus point for you. That may work fine for some types of photography, but it can be disastrous for overall nature photography, when you’re trying to focus on a small bird in a thicket, a lion’s eye through grasses, or a distant bear moving across the tundra.
For most wildlife photography, I prefer a small center autofocus point.
This gives me precision. I know exactly where the camera is focusing, and I can place that point on the subject—usually the eye—lock focus, and then recompose if needed.
Yes, modern subject tracking is amazing, and I do use it for birds in flight, breaching whales, and fast-moving subjects. But most of the time, my default remains that reliable little center point. It is simple, fast, and incredibly effective.

4. Think Composition: Balance First, Rules Second
Composition is where photography moves from documentation into art.
The rule of thirds is a great place to begin. Imagine a tic-tac-toe board over your frame and place important elements along those lines or at their intersections. Horizons usually feel stronger when they are not slicing the image directly in half. Subjects often feel more dynamic when they are offset instead of parked in the dead center.
Leading lines are another powerful tool. Roads, rivers, shorelines, tree trunks, safari tracks, and even shadows can guide the viewer’s eye through the image toward your subject.
I also like thinking about the phi grid, which is similar to the rule of thirds but slightly compressed toward the center. It has roots in the golden ratio and can create a very natural sense of visual harmony.
But ultimately, all of these rules are just pathways toward one bigger idea: balance.
A great photograph feels balanced. Not necessarily symmetrical. Not necessarily perfect. But intentional. The viewer’s eye knows where to go, and all the elements in the frame feel like they belong.

5. Zoom Out Slightly
I know, I know. You bought that 500mm or 600mm lens for a reason. Wildlife is often far away, and full-frame animal portraits can be spectacular.
But don’t forget to zoom out.
First, many lenses are just a bit sharper slightly inside their maximum range. If your lens goes to 500mm, shooting at 480mm or 490mm may give you a tiny improvement in quality—especially if you plan to crop later.
More importantly, zooming out gives your subject context.
A tight portrait of a lion is wonderful. But a lion small in the frame, surrounded by golden savanna, storm clouds, dust, and distance? That can tell a bigger story.
So yes, get the tight shot. Absolutely. But then zoom out. Give yourself options. Some of your favorite images may be the ones where the animal is not the entire photo, but part of a larger visual experience.

6. Choose Your Background
This is one of the most overlooked skills in wildlife photography.
Your subject matters, of course. But the background can make or break the image. What is behind your animal? What color is it? How far away is it? Is it busy, clean, distracting, soft, bright, dark, textured, or beautifully blurred?
Often, you can improve a photo dramatically by moving just a step or two.
Move left or right. Crouch lower. Raise your camera slightly. Wait for your vehicle to reposition. Look for a cleaner patch of vegetation, a darker grove of trees, a distant hillside, or a wash of wildflowers.
The farther the background is from your subject, the more separation and blur you can often create. That lovely bokeh everyone loves is not only about aperture—it is also about distance.
In short: don’t just photograph the animal. Photograph the animal against the best possible background you can find.

7. Choose Your White Balance
If you shoot RAW, yes, you can adjust white balance later. But I still think choosing it in the field matters.
White balance is not just technical correction. It is creative storytelling.
A cooler white balance can make Arctic scenes feel icy, blue, and dramatic. A warmer white balance can bring out the humid, golden feeling of a tropical forest. Cloudy white balance generally warms things up. Daylight white balance can feel cooler in comparison.
When you choose white balance in the moment, you’re making an artistic decision based on how the place feels to you. And that is worth something.
Auto white balance is fine, and I use it sometimes. But experimenting with warmer and cooler settings in the field can quickly help your photos feel more intentional and alive.
Bonus Tip: Focus on the Eyes
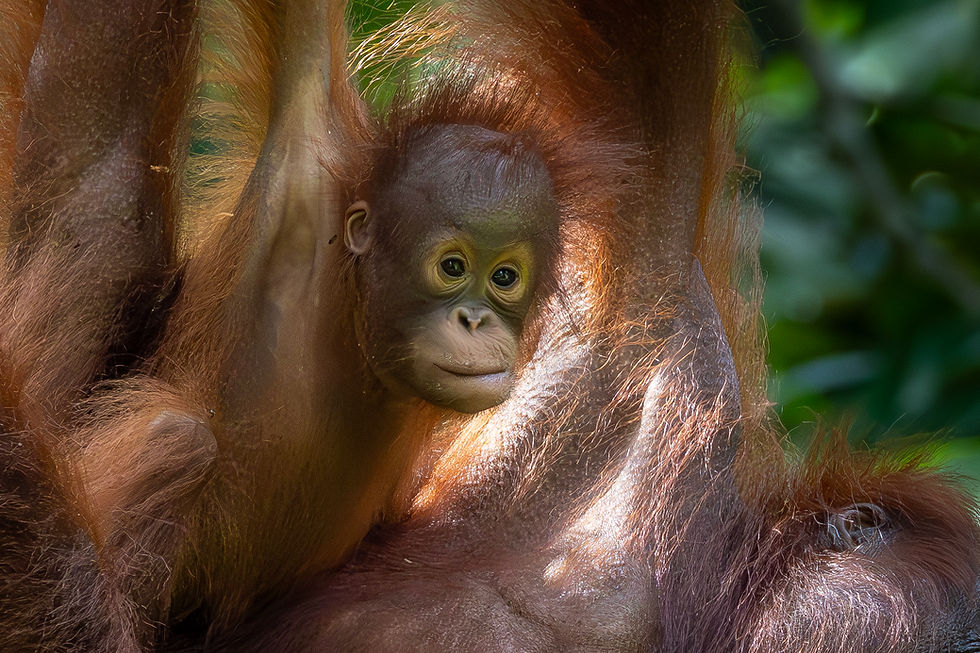
If you photograph wildlife, people, pets—or frankly anything with eyes—focus on the eyes.
Almost always.

If the nose is sharp but the eyes are soft, the photo usually feels wrong. If the eyes are sharp, the image connects. There are always artistic exceptions, but this is one of those rules I break very, very rarely.
Whether it’s a bear in Alaska, a hummingbird in Costa Rica, a gorilla in Rwanda, or your fellow traveler at camp, the eyes are where connection happens.
Final Thoughts
So there you have it: the seven things I teach at the start of every photo adventure, plus one bonus rule that might be the most important of all.
Get off full auto. Learn exposure compensation. Use center point autofocus. Think about composition and balance. Zoom out. Choose your background. Choose your white balance. And always, always focus on the eyes.
None of these require fancy new gear or a complete rewiring of your photography workflow. They simply require awareness and practice. Start layering these into your photography one at a time, and you’ll notice a shift—not just in how your photos look, but in how you see.
Thanks as always for reading and listening.
If you enjoyed this article, consider sending it to a friend...I'd be forever grateful for your help in getting the word out there and helping me grow!
Until next time—keep shooting, keep exploring, and don’t forget to zoom out.
Court


Comments